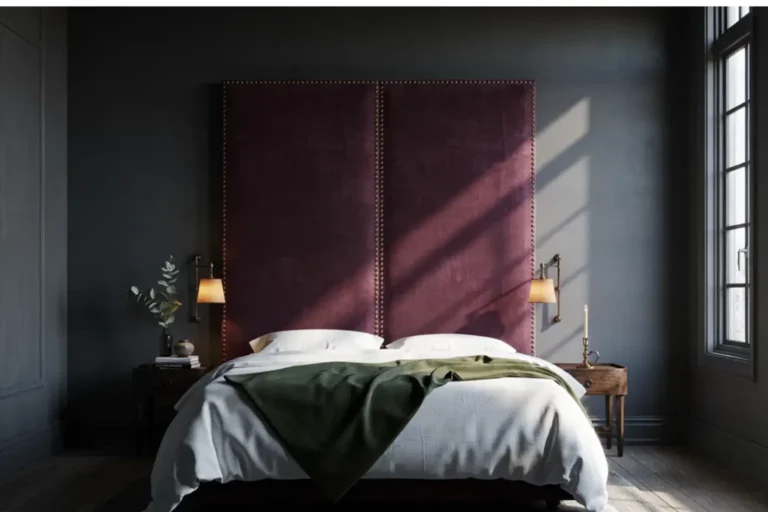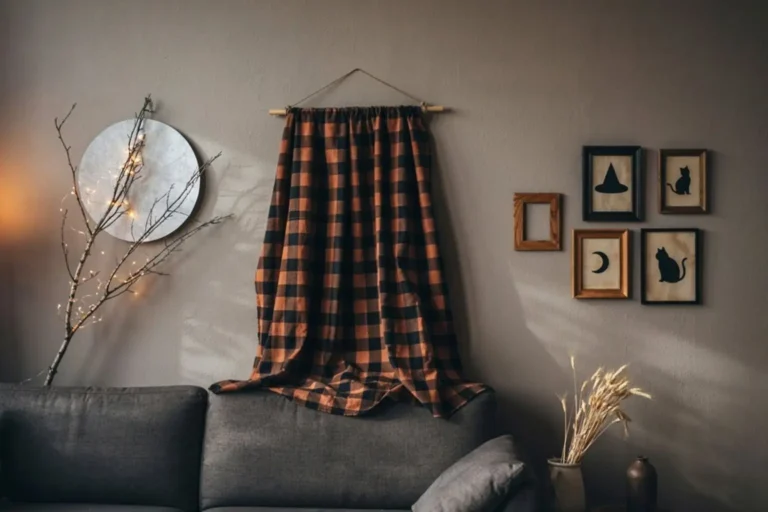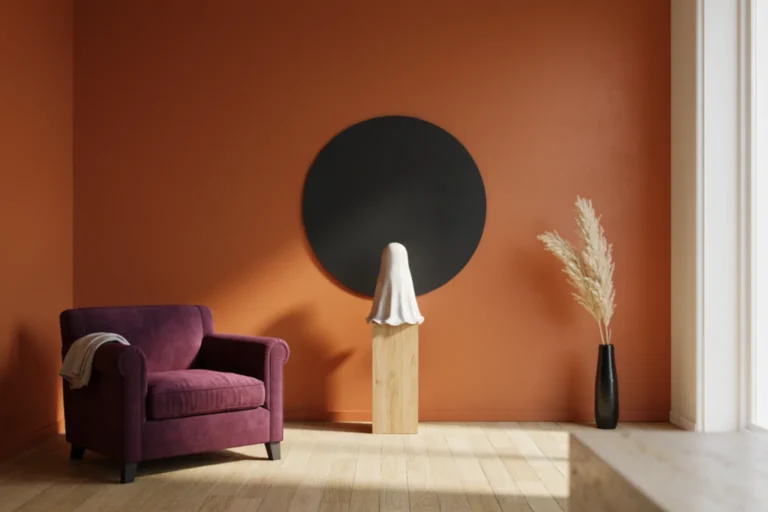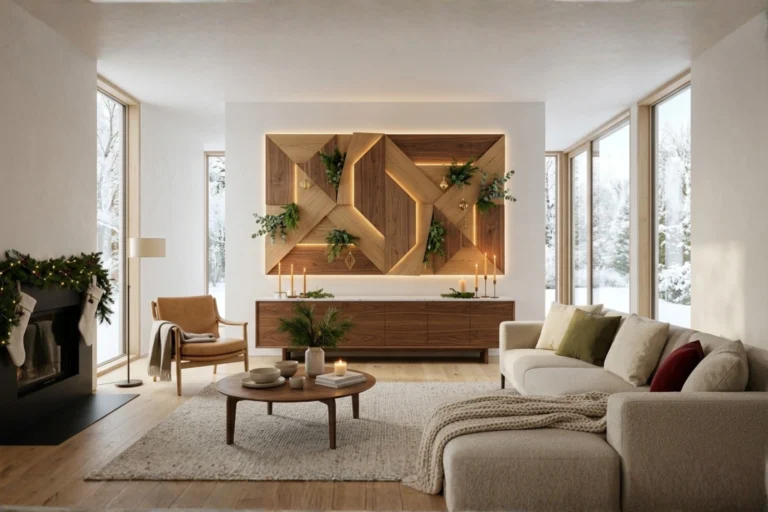
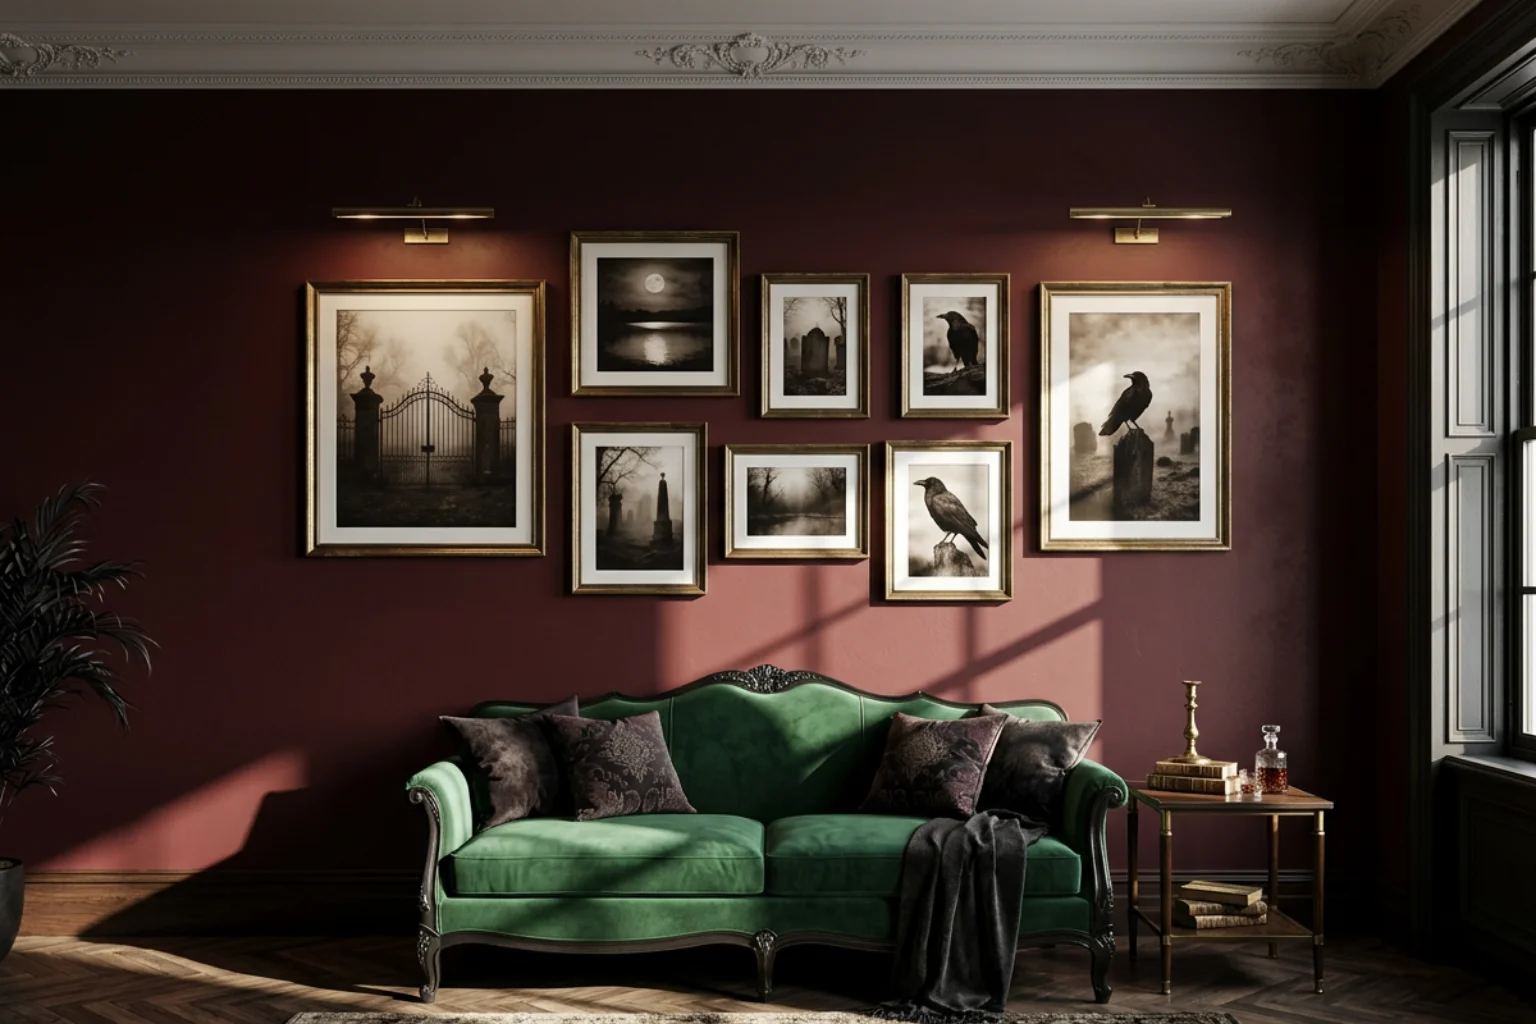
8 Halloween Wall Design Inspirations You’ll Love
Halloween wall design inspirations work best when each wall is planned as a structural composition: one dominant surface treatment, one clear focal point at 57 to 60 inches from the finished floor, and a defined lighting plan. Treating the wall as a load-bearing visual canvas, instead of a surface to fill with seasonal props, lets paint, paper, brass, and botanicals carry the mood. The eight designs below range from oxblood gallery walls to backlit moon panels, at scales from a 36-inch console zone to a full 120-inch feature wall.
Material authenticity gives each design its weight. Matte mineral paint and limewash in oxblood, ink black, and bone absorb light instead of reflecting it, while antique brass frames with 1.5-inch profiles, museum glass, peel-and-stick wallpaper in a 24-inch repeat, brass rods, and preserved botanicals add real patina, paper tooth, and plaster texture. These surfaces hold up under close inspection, which matters because Halloween walls are photographed and examined from three feet away at every party.
Lighting and palette tie the set together. Every design specifies a color temperature between 2400K and 3000K, because warm light deepens burgundy, black, and gold while cooler bulbs flatten them, and each palette stays within three tones. If you want a theme-driven alternative built around hats, brooms, and heirloom gourds, these witch and pumpkin wall styling ideas pair well with the broader designs here.
1. The Gothic Gallery Wall in Antique Brass Frames on an Oxblood Wall
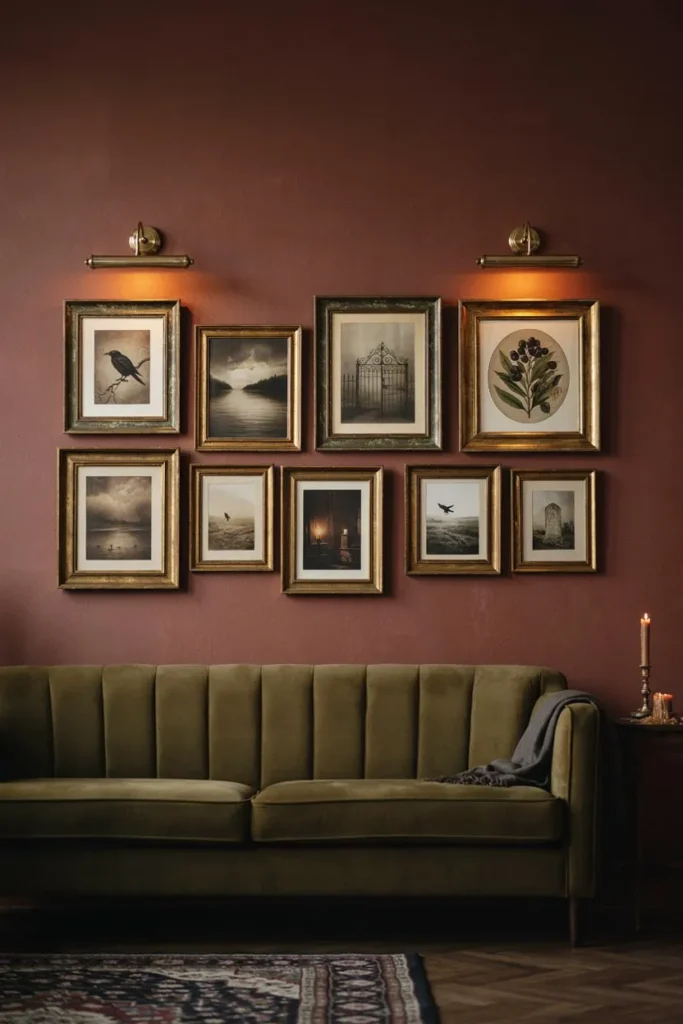
A gothic gallery wall arranges eight to ten antique brass frames holding moody landscape and portrait prints on a deep oxblood wall, producing a museum-style Halloween focal point that works for the whole month. Paint the wall in a matte oxblood mineral paint at 3 to 5 percent sheen, which absorbs light and lets the brass catch highlights. Choose frames in three sizes, 8 by 10, 11 by 14, and 16 by 20 inches, all with a 1.5-inch antique brass profile, and fill them with giclée prints on 300gsm cotton rag paper behind museum glass: a moonlit lake, a foggy cemetery gate, three sepia ravens, and a Victorian belladonna plate, each set in a 2-inch warm cream mat.
Arrange the frames salon-style around a horizontal axis at 58 inches from the finished floor, placing the two 16 by 20 inch frames slightly off center and hanging the smaller frames around them with 2-inch gaps. Over an 84-inch sofa, keep the overall width at 63 inches, which equals 75 percent of the sofa and sits at the upper edge of the proportion range that reads as intentional. Cut a paper template for each frame, tape the templates to the wall, and adjust the layout before driving hardware, using two D-ring hooks rated for 30 pounds per frame and a 4-foot level.
Light the two largest frames with plug-in brass picture lights fitted with 2700K, 4-watt LED bulbs, arms set 14 inches from the wall and aimed down at 30 degrees. The warm, directional light deepens the oxblood paint, keeps glare off the glass, and gives the brass a soft glow instead of a flash of reflected bulb.
2. The Painted Black Arch Portal over a Slim Console
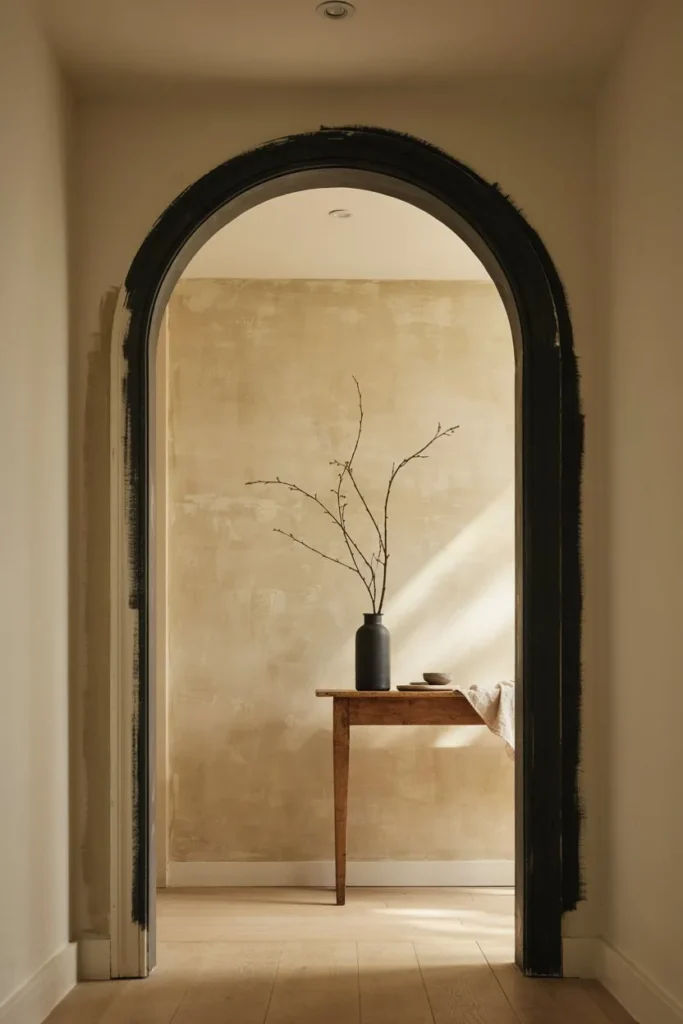
A painted arch portal is a matte black arch, 36 inches wide by 84 inches high, rolled directly onto a pale wall to create a doorway-like focal point that frames a console and one sculptural object. Start with a warm bone limewash or soft white wall so the contrast is sharp. Mark the arch with a string compass: drive a nail at the center of the semicircle, 66 inches from the finished floor, tie a pencil to an 18-inch string and draw the curve, then plumb two vertical lines 36 inches apart down to the floor.
Apply two coats of matte black mineral paint, cutting in the curve with a 2-inch angled brush and the straight edges with 1.5-inch delicate-surface painter’s tape, and peel the tape while the second coat is still tacky for a razor-clean edge. Set a 28-inch-wide aged oak console, 33 inches high, inside the arch, topped with one 18-inch black ceramic vase holding three bare branches. The arch leaves about 4 inches of black on each side of the console, so the piece reads as an intentional niche rather than a painted shape.
The arch also works as a party photo backdrop, and these backdrop wall styling ideas show how to scale the same approach for larger gatherings. Light it with a ceiling-mounted adjustable spotlight at 3000K, positioned 30 inches from the wall and angled at 30 degrees toward the arch center, so the black paint reads as velvet-deep and the branches throw a crisp shadow onto the pale wall.
3. The Midnight Moth Wallpaper Accent with Shadow Box Specimens
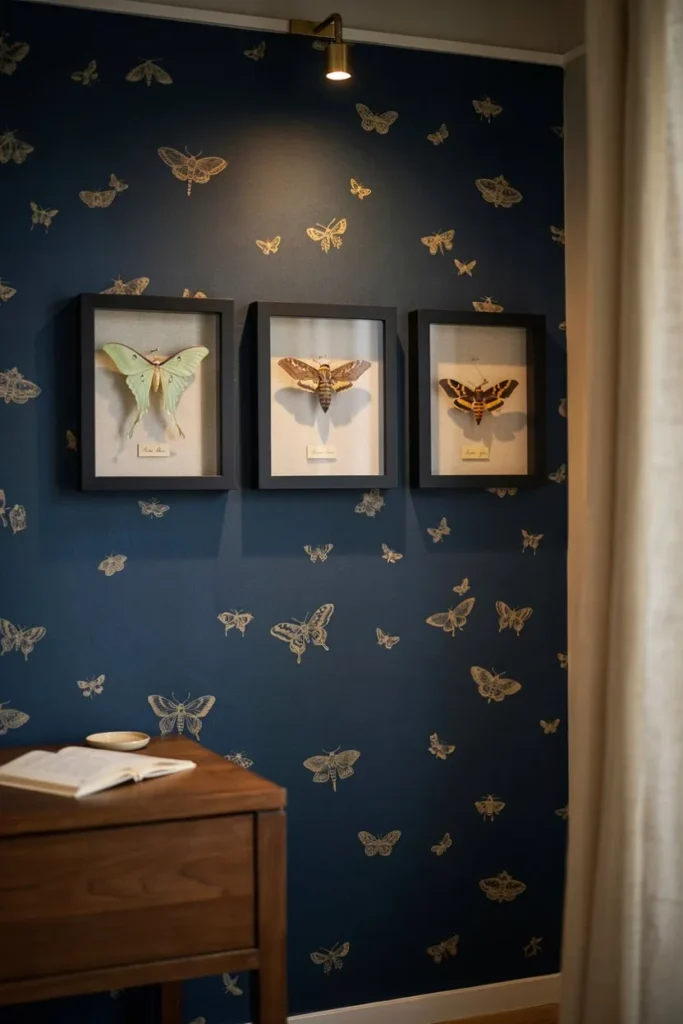
A moth wallpaper accent wall covers a single wall in peel-and-stick midnight paper with muted gold moth motifs, paired with three shadow boxes of pinned paper specimens for dimensional contrast. Choose paper in ink navy with a 24-inch repeat, sold in 20.5-inch wide panels, and apply it to a smooth wall painted at least four weeks earlier so the adhesive bonds cleanly. Snap a plumb line at the wall’s center, hang the first panel along it, and work outward with a 6-inch smoothing blade, butting each edge without overlap and trimming at the ceiling with a sharp 18mm blade.
Build the shadow boxes in three black 12 by 12 inch frames, each 1.5 inches deep, lined with cream linen and holding printed paper moths pinned with 0.5mm brass entomology pins: one luna moth, one hawk moth, and one tiger moth, set so the wings sit 1 inch from the glass. Hang the boxes in a horizontal row with 3-inch gaps, producing a 42-inch-wide group centered at 58 inches from the finished floor.
Use a ceiling-mounted track light with a 2700K, 25-degree beam, placed 30 inches off the wall, to graze the shadow boxes. The warm beam makes the gold wallpaper motifs shimmer and casts a sharp shadow of each moth onto the linen, which adds depth that flat prints cannot match.
4. The Dried Floral Hanging on a Brass Rod with Burnt-Orange Accents
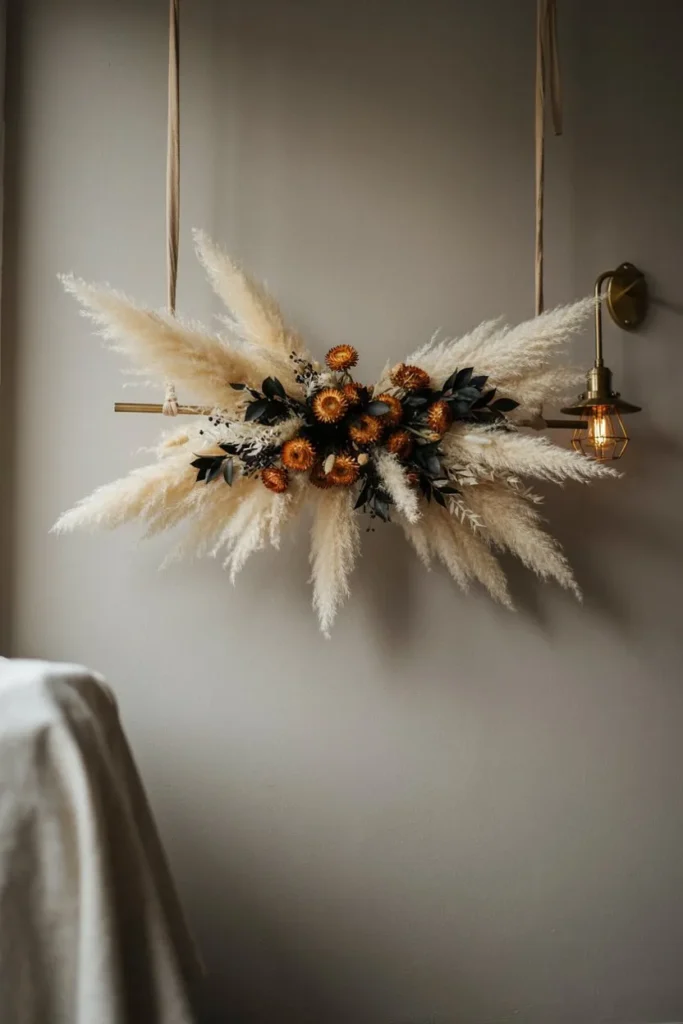
A dried floral hanging suspends a 48-inch-wide arrangement of pampas, preserved black ruscus, and burnt-orange strawflowers from a brass rod, giving the wall a soft, sculptural focal point in autumn tones. Cut stems to 20 to 30 inches, bind them in layers with floral wire, and build the form in three tiers: eight pampas plumes at the back, twelve ruscus stems in the middle, and fifteen strawflowers clustered toward the lower center. The finished piece weighs about 2 pounds.
Tie the bundle to a 1/2-inch brass rod, 48 inches long, using linen cord, then hang the rod from two 2.5-inch brass hooks in drywall anchors rated for 25 pounds, using 24-inch lengths of cord. Set the center of the arrangement at 60 inches from the finished floor, which places the rod near 75 inches and lets the florals fall about 30 inches. Keep dried materials at least 36 inches from any open flame, fireplace, or heater.
For a fresher counterpoint, these greenery wall styling ideas show how living plants can balance a dried palette. Light the arrangement with a wall sconce fitted with a 2400K, 4-watt filament bulb, mounted 12 inches to one side at 62 inches from the floor, so the pampas glows and the orange strawflowers read as warm embers against the black ruscus.
5. The Charcoal Board-and-Batten Wainscot with a Pumpkin Cap Ledge
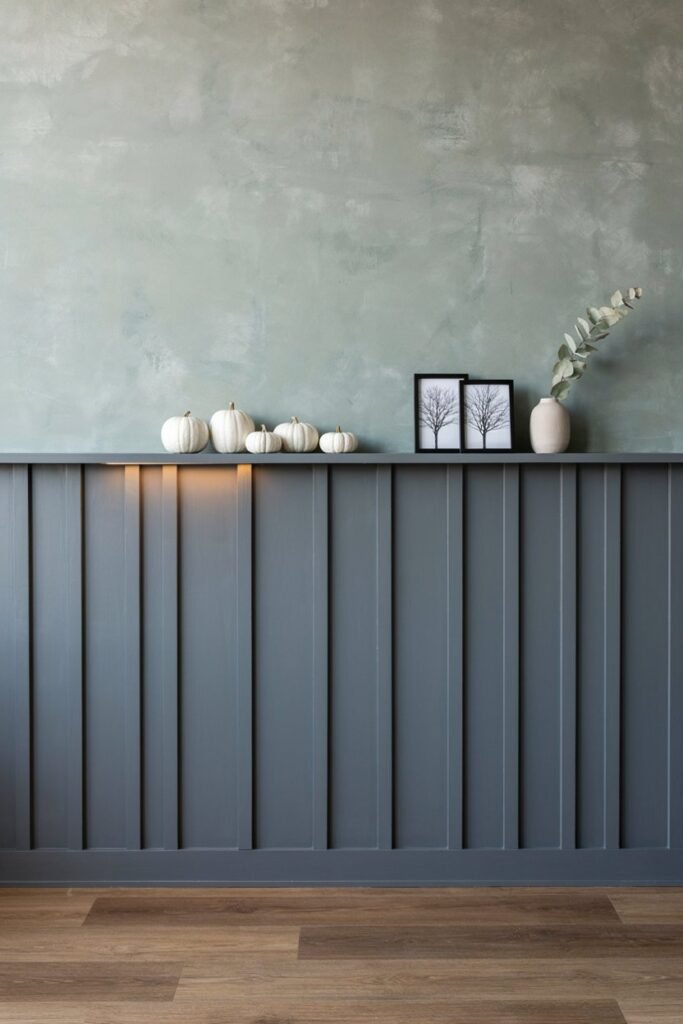
A charcoal board-and-batten wainscot is a 42-inch-high wall treatment of vertical battens painted in matte charcoal, topped by a 5.5-inch-deep cap that doubles as a display ledge. Build it from 1×3 poplar battens (actual size 3/4 by 2.5 inches) set 16 inches on center to land on stud lines, a 1×4 bottom rail, a 1×3 top rail, and a 1×6 cap, all fixed with construction adhesive and 2-inch 18-gauge brad nails. Caulk every seam, fill each nail hole, and paint two coats of matte charcoal, with the wall above in a soft sage limewash so the dark band reads as architecture rather than decoration.
Style the cap ledge with five mini white Baby Boo pumpkins, 3 to 4 inches wide, in uneven groupings of two and three, and lean two 8 by 10 inch black-and-white photographs of bare winter trees between them, each in a thin black frame. The pumpkins weigh under a pound each, so the ledge carries the display comfortably. A cap height of 42 inches keeps the focal band below eye level, which leaves the sage wall above open and gives the room a calmer, grounded feel.
For a quicker version without carpentry, these last-minute Halloween wall décor ideas show what to build from items already at home. Wash the ledge with a low floor uplight fitted with a 2700K bulb, set 12 inches from the wall, so the light climbs the sage paint, defines each batten with a thin shadow line, and makes the white pumpkins glow.
6. The Wrought-Iron Candle Sconce Row on a Limewashed Olive Wall
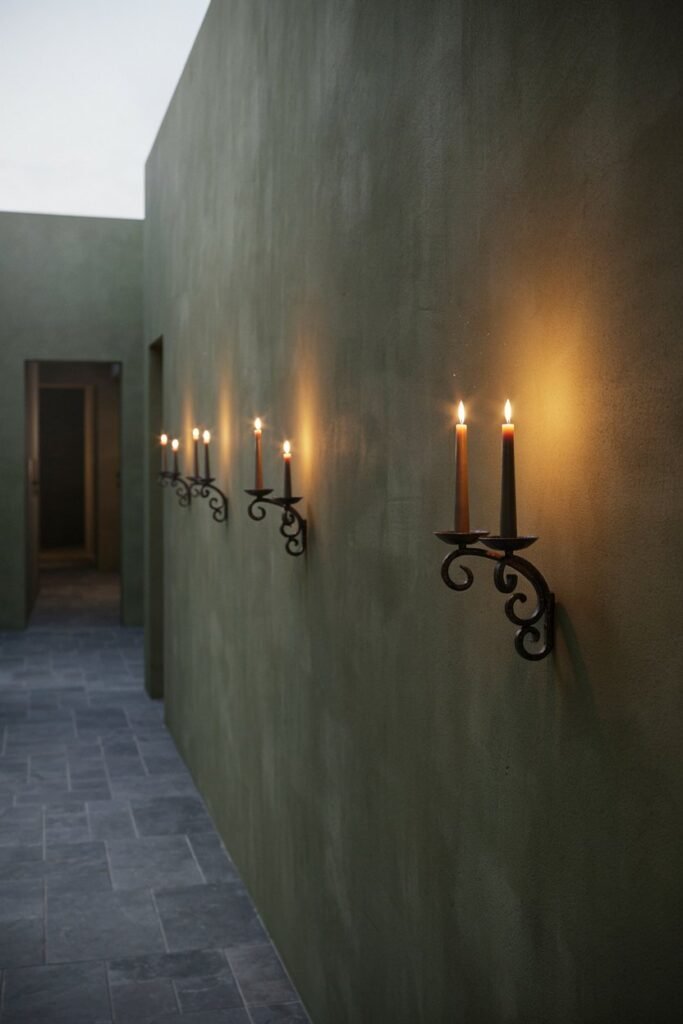
A candle sconce row is a horizontal line of three wrought-iron wall sconces holding flameless taper candles, mounted on a deep olive limewash wall to create a candlelit, gothic hallway or dining wall. Choose blackened iron sconces 12 inches tall, with a 4-inch backplate and a 2-inch drip cup, and fit each with a 10-inch flameless taper that has a flickering LED flame at about 2200K. Apply the olive limewash in crosshatch strokes with a 6-inch brush to give the wall tonal movement behind the iron.
Mount the three sconces with the flames at 66 inches from the finished floor, spaced 24 inches apart on center, for an overall width of 52 inches including backplates. Fix each into a 50-pound toggle anchor or a stud with a 2.5-inch screw, since each fixture weighs 2 to 3 pounds. Mark the three points with a laser level so the flames align within 1/8 inch, because a crooked row is the first thing the eye catches in a repeating pattern.
If you prefer real candles, use dripless tapers and keep at least 18 inches of clear wall above each flame, with no fabric or dried botanicals nearby. The 2200K flicker produces enough soft ambient light for a short hallway, and at that color temperature the olive wall reads deep and velvety while each backplate casts a fine, crisp shadow upward onto the limewash.
7. The Backlit Crescent Moon Panel in Black-Stained Birch
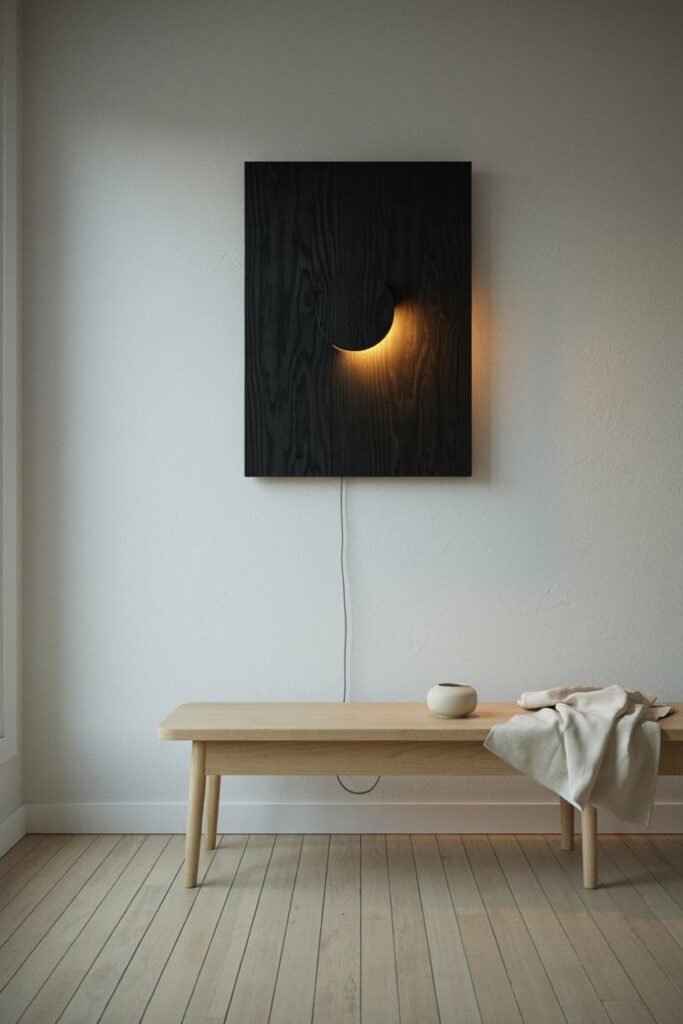
A backlit crescent moon panel is a shallow 24 by 36 inch wall box with a crescent cut from black-stained birch plywood, lit from behind by LED tape so the moon glows against a dark face. Build the front from 1/2-inch Baltic birch plywood, cut a 14-inch crescent with a jigsaw, sand through 220 grit, and finish it in black wood stain with a matte topcoat. Frame the box with 1×2 poplar to a depth of 1.5 inches and paint the interior matte white, so the light bounces cleanly and the crescent glows evenly instead of showing hot spots.
Line the inner perimeter with 2700K LED tape at 4.8 watts per meter, using about 3 meters, powered by a 12-volt plug-in driver, and run the cord down behind a 1/2-inch cord cover painted to match the wall. The assembled piece weighs about 6 pounds, so mount it on a 45-degree French cleat, 3/4 by 3-1/2 inches, with two 2-inch screws into studs. Center the panel at 60 inches from the finished floor.
Hang it on a wall at least 36 inches from any heater, and keep the LED driver ventilated. Light spills through the crescent only, so the black face keeps its graphic edge, while the 1.5-inch standoff from the wall adds a faint halo around the rim that makes the piece read as an object of light rather than a flat cutout.
8. The Oversized Misty Forest Photograph as a Single Statement
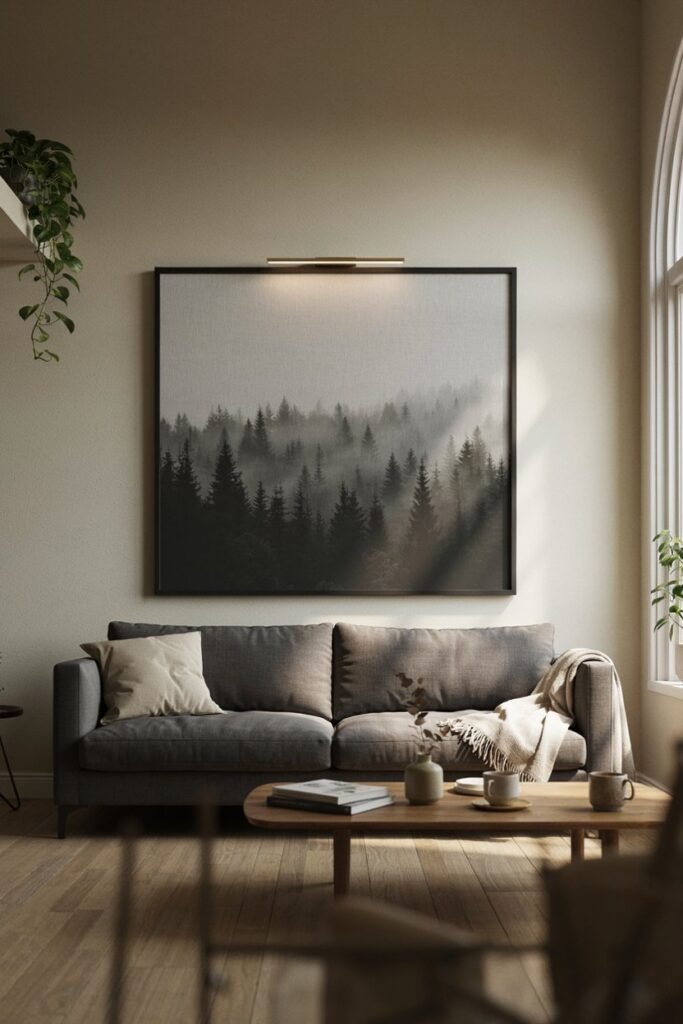
A statement photograph is one oversized black-and-white print, 60 by 40 inches, hung alone to give a Halloween wall the quiet drama of a misty forest. Choose a fine-art print on matte cotton canvas, stretched over a 1.5-inch-deep frame and set in a black wood floater frame with a 1-inch reveal. Pick an image with a pale fog band across the center and dark trunks at the edges, so the print reads as depth rather than clutter from across the room.
Hang the print on a 3/4-inch French cleat with two 50-pound hooks as backup, which spreads its 12-pound weight, and center it at 60 inches from the finished floor. Over an 84-inch sofa, the 60-inch width equals about 71 percent of the sofa, inside the 60 to 75 percent range, and the bottom edge lands at 40 inches, about 7 inches above a 33-inch sofa back.
Keep the surrounding wall in a warm greige so the photograph carries all the contrast. Light it with a 36-inch linear LED picture light at 3000K, mounted 6 inches above the frame and angled at 30 degrees, so the fog band reads luminous and the trunks keep their depth without surface glare.
Conclusion
These eight designs share one logic: a single dominant material, a clear focal point at 57 to 60 inches from the finished floor, and a warm 2400K to 3000K light source that lets dark surfaces show their texture. Oxblood paint against antique brass, black arch against bone limewash, charcoal batten against white pumpkin, and olive plaster against blackened iron each rely on contrast between a matte ground and a single reflective or luminous accent, which is what turns a seasonal wall into architecture. When the season ends, the same wall treatments adapt readily to these modern Christmas wall décor ideas by swapping only the accents.
Frequently Asked Questions
What colors work best for Halloween wall design?
Oxblood, ink black, charcoal, deep olive, and bone white work best, accented with antique brass and burnt orange. Limit each wall to three tones so the palette feels designed rather than themed. Matte finishes absorb light and add depth, while glossy black paint tends to show every roller mark and reflection.
How can I decorate a wall for Halloween without painting?
Use peel-and-stick wallpaper, a gallery of framed prints, a dried floral hanging, or an oversized photograph. None require paint, and most hang from picture hooks rated for the piece’s weight. Peel-and-stick paper needs a smooth wall painted at least four weeks earlier for the adhesive to bond cleanly.
Can a Halloween wall design double as a party backdrop?
Yes. The painted arch and the oversized photograph both frame well from 6 feet away. For a larger gathering, add a black and orange balloon cluster beside the wall, and use these balloon wall styling ideas to size it so the cluster stays in proportion with the wall.
How large should the artwork be on a Halloween feature wall?
Aim for 60 to 75 percent of the furniture width below it, centered at 57 to 60 inches from the finished floor. For an 84-inch sofa, that means an arrangement 50 to 63 inches wide, with the lowest edge about 6 to 8 inches above the sofa back.
Which bulb temperature suits a dark Halloween wall?
Choose bulbs between 2400K and 3000K. Dark paint absorbs light, so aim the fixture at 30 degrees from 24 to 30 inches away, which grazes the surface and reveals texture. Cooler bulbs above 4000K make oxblood and charcoal look flat and gray.